Crestamould application guide
Our Crestamould Matched Tooling System consists of:
- Crestamould GC 15PA – Tooling Gelcoat with excellent gloss retention and heat resistance
- Crestamould VE 679PA – Vinyl Ester Skincoat for reducing fibre print through
- Crestamould RTR 4010PA – Low Shrink, Rapid Tooling Resin
Please read the Technical Data Sheets before using each product.
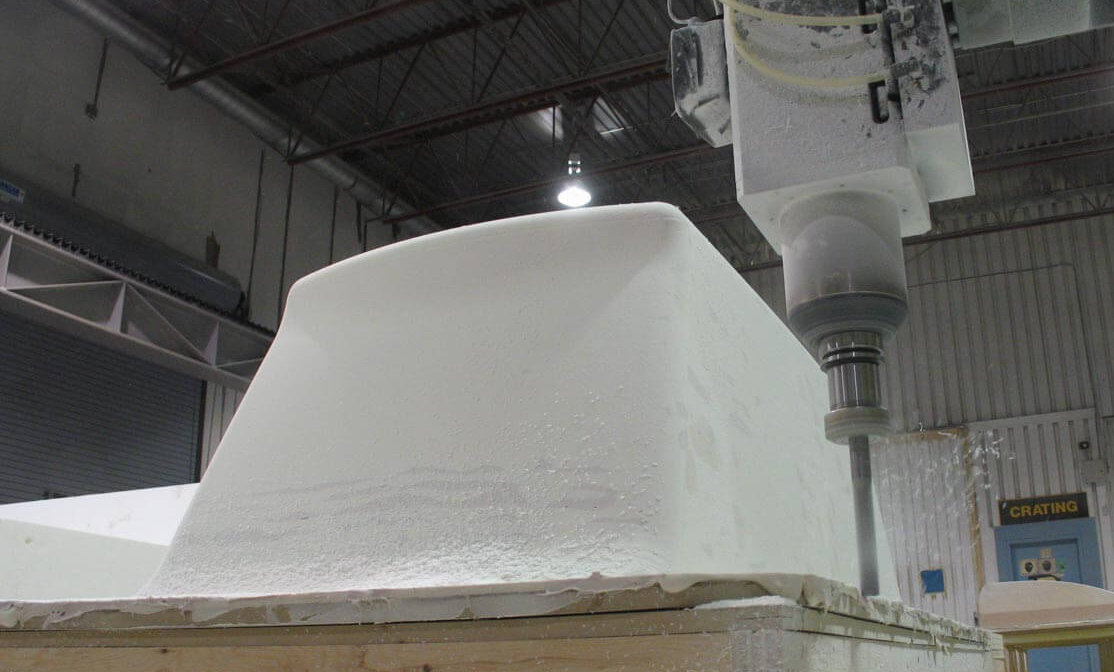
Preparing the Plug
The key to achieving the best quality mould surface, other than using a premium tooling system such as Scott Bader’s Crestamould system, is to begin with a top-quality plug. Extra time spent improving the surface finish of the plug will greatly reduce the amount of finishing work needed to the surface of the mould.
Crystic Primecoat and Crystic Glosscoat are ideal products to coat a plug, leaving a very glossy and durable finish.
Crestamould GC 15PA (S) – Tooling Gelcoat Application
- Stir the gelcoat
- Medium reactivity MEKP catalyst should be added to the gelcoat at 1.5-2.0%
- Recommended airless spray gun nozzle tip size is 423-535 with a spray pressure of 3-4.5 bar (alternatively a pot gun with a number 6 nozzle can be used)
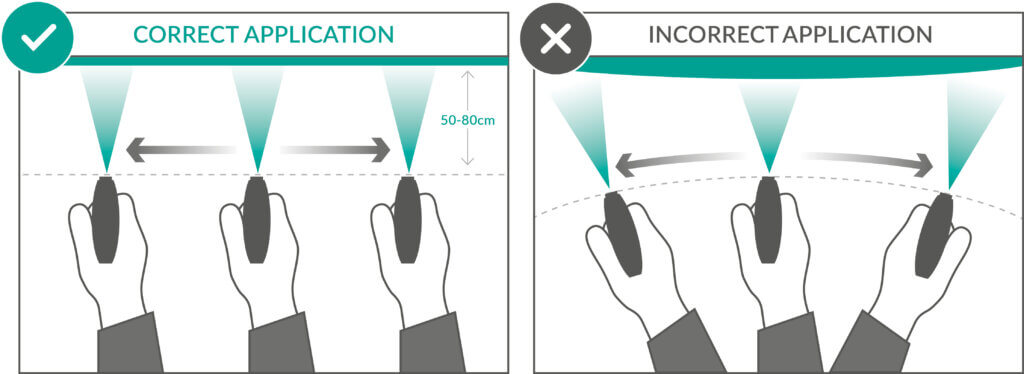
- Spray gun should be kept between 50-100cm from the mould while spraying. Ideal wet film thickness is 600-800μm
- Gelcoat thickness should be built up in long even vertical and horizontal passes, starting with a light mist coat, and then building up in layers of roughly 100-150μm until the total thickness of 600-800μm is achieved
- Gelcoat should be left to cure until the back surface is tack free. The time for this will depend on temperature, catalyst level and shape of the mould, but in most cases will be under 1 hour
- Only 1 layer of Crestamould GC 15PA (S) needs to be applied
- Once the gelcoat has cured and is tack free, the skin coat may be applied. Gelcoat should be tested for tackiness in the last area to be gelcoated and in any deep recesses where styrene is likely to accumulate and slow down the cure
- Gelcoat should always be backed up within 24 hours of application but for best results it should be backed up as soon as possible once it has gone tack free
Crestamould VE 679PA – Skincoat Resin Application
- Resin should be thoroughly stirred before use
- Medium reactivity MEKP catalyst should be added to the resin at 1.5-2.0%
- The ideal resin to glass ratio is 2:1
- Skincoat layup should be minimum 1 layer of 300gsm CSM
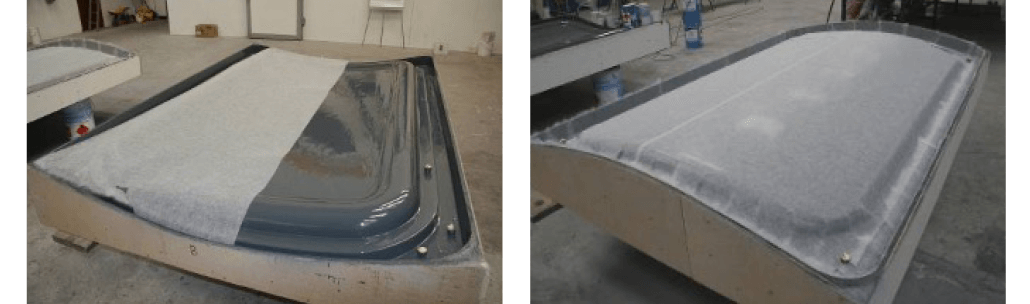
- Common skincoat layups include: 1x surface tissue + 1x 300gsm CSM, or 2x 300gsm CSM
- During application, care should be taken to ensure the glass is properly consolidated – eliminating all air voids
- The skin coat should be left to cure until tack free – time will vary depending on temperature, catalyst level, shape of the mould etc
- Once cured, lamination with the tooling resin can begin
- If you need to walk on the skincoat to apply the tooling resin, it is recommended to leave the skincoat to cure overnight to avoid potential issues such as pre-release
Crestamould RTR-4010PA – Low Shrink, Rapid Tooling Resin Application
- As Crestamould RTR-4010PA is a pre filled resin, it is common for some minor filler settlement to occur during transport and storage, therefore, it is important that the resin is stirred thoroughly before use to uniformly re-disperse any settled filler
- Medium reactivity MEKP catalyst should be added to the resin at 1.0-1.5%
- The recommended resin to glass ratio for CSM glass reinforcement is at least 3:1
- Minimum of 4 layers of 450g CSM is recommended per single wet on wet application, consolidating between layers and then left to cure

- Crestamould RTR-4010PA contains low-profile additives that require a certain exotherm build during cure in order to activate and effectively control the shrinkage of the resin. The above recommendations should create a sufficient exotherm (depending on ambient temperature, catalyst etc)
- The colour of the resin will turn whiter as the resin cures and the low-profile additives activate
- Once cured, the lamination process should be repeated using the RTR-4010PA and a further 4 layers of 450g CSM until the desired mould thickness/stiffness has been achieved. The design, complexity and size of the mould will determine optimum reinforcement levels and total mould thickness
- Bracing or core materials can be applied to the cured resin using a bonding paste such as Crestafix 621. A general-purpose resin may then be used as the closing skin (maximum 1-2 layers of CSM)
- For optimum properties, longer durability and improved surface finish, the completed mould should be postcured for 16 hours at 40°C or 3 hours at 80°C before demoulding from the plug
- If postcuring is not feasible, the mould should be left to mature for 7 days at ambient temperature (18°C or above)
Mould Release System
- Clean the mould thoroughly with a suitable mould cleaner
- Apply a suitable mould sealer according to manufacturer’s instructions
- Apply a suitable semi-permanent release agent according to manufacturer’s instructions
- Optional – apply one coat of a hard wax such as Mirrorglaze. This will reduce any tendency to de-wet or pre-release when the mould is used
- After the first release, use a masking tape test to check that the release agent remains on the mould surface
- If so, apply one coat of semi-permanent or hard wax. If not, repeat steps 1 to 3
- Continue as step 5 until the release performance becomes predictable and easy, then re-apply one coat of release agent as and when required